Monday, August 20, 2012

Spiderwebs (The good kind)

I've started to accumulate little scraps now that I've finished a few projects. I've bagged them up in ziplocks and they've just been sitting. Until now.


The other night I decided to do something with them. I used the free tutorial from www.quiltville.com  and started sewing away. I LOVE this type of sewing - no precision cutting, not color matching, no planning... just petal to the metal! :-) Can't wait to see where this goes!!


Purple Birdies

I love Jen's finished quilt! She picked such cute colors! Like I said before, I don't think I would have chosen these, but it ended up so pretty.

I traveled with my husband for work and spent some time in a hotel room. I took Jen's quilt with me and got it stitched most of the way - a great way to put my hands and time to use!


Quilting around the block borders and the embroidery ~


Little daisy flowers in the sashing ~


Finished!


LOVE the texture - this might be my new favorite of quilting!


 Cables ~


A soft cotton sheet used for the backing


 My quilt "holder-upper" - this his *smile* for his sister in law and her quilt. :-P


An instagram shot of or dog-dog Jack - he keeps me company while I sew.


Northern Montana wheat fields are already cut, it's been a hot summer! This was taken mid-July.


Beautiful rainbow!


I love the mountains! These are about as close as you get to them where we live in Northern Montana. Smells like hay!


Show some Bobcat Spirit!

Glad to finally have this quilt done! It was started this spring, and took approx. 6 months to finish. I'm pretty excited about it though, because it's the first one I've ever completed - start to finish - by myself! 

My husband requested an MSU Bobcat quilt. The requirements were that it had to be "big, heavy, and soft". Hmm... okay!? How do I do that?? I Started with this stack of blues and the solid yellow. When I showed them to the hubs, he nixed the swirly fabric 2nd from the bottom. He had a hand in every part of this process too!


 He picked out the rail fence blocks for the background, and had wanted the pinwheel orientation.


 After laying the blocks out and thinking about the logo that would be stitched on top, we decided that we liked the zig zag layout better - it's a more "quiet" option and wouldn't distract from the logo or lettering.


 The bobcat logo was something of a challenge for me. I printed out the logo from online (I hope that doesn't cross any boundaries... we are bobcat students, and there is no printed fabric available in this specific logo/brand), then I took it Staples to have it enlarged. I had envisioned it even larger...but they could only do so much with what I had. I watched several videos on YouTube and decided that I could try to needle turn applique the shape. It went okay for my first attempt - but there's always room for improvement!!


 Next I asked for input on the lettering, and we selected the font below. The letters were enlarged and printed out on cardstock. I don't have a picture, but I cut out each individual letter with added seam allowance, and then appliqued them to the quilt top. This was a tough job - I should have added them BEFORE the top was complete. It's hard to wrangle a queen+ quilt top to sew on each letter!


My first try at hand quilting! I used cardboard templates and cut out oval shapes to trace. I think the round shapes added a little softness. In the outer borders, I used masking tape and duct tape to mark out straight lines. Worked pretty good!


Finished and folded.


Love the way the quilting looks!


Pretty blue ~


The bobcat logo with 2012 quilted in the middle~


Don't mind the suitcases - we had just been on the road. :-)


Trying it to see if it's "big enough"


He loves it - can't you tell? You mean that face doesn't scream with joy? (Heh - tired of taking pictures.)


The backing - FLEECE! This quilt has a cotton batting and he picked out the yellow fleece for the back. It made it tough to quilt, but what did I know - it was my first! Live and learn!


A dark photo - but the quilting texture shows up ~


Go Bobcats!


Wednesday, March 14, 2012

Weight Watchers

Hey y'all - just a note to family (& friends)... if any of you do weight watchers, I've started as well. I'm giving it a trial of 3 months... we'll see how it goes! If you're an online member, let me know - I'll look you up! :-)

(You can just email if you'd like)

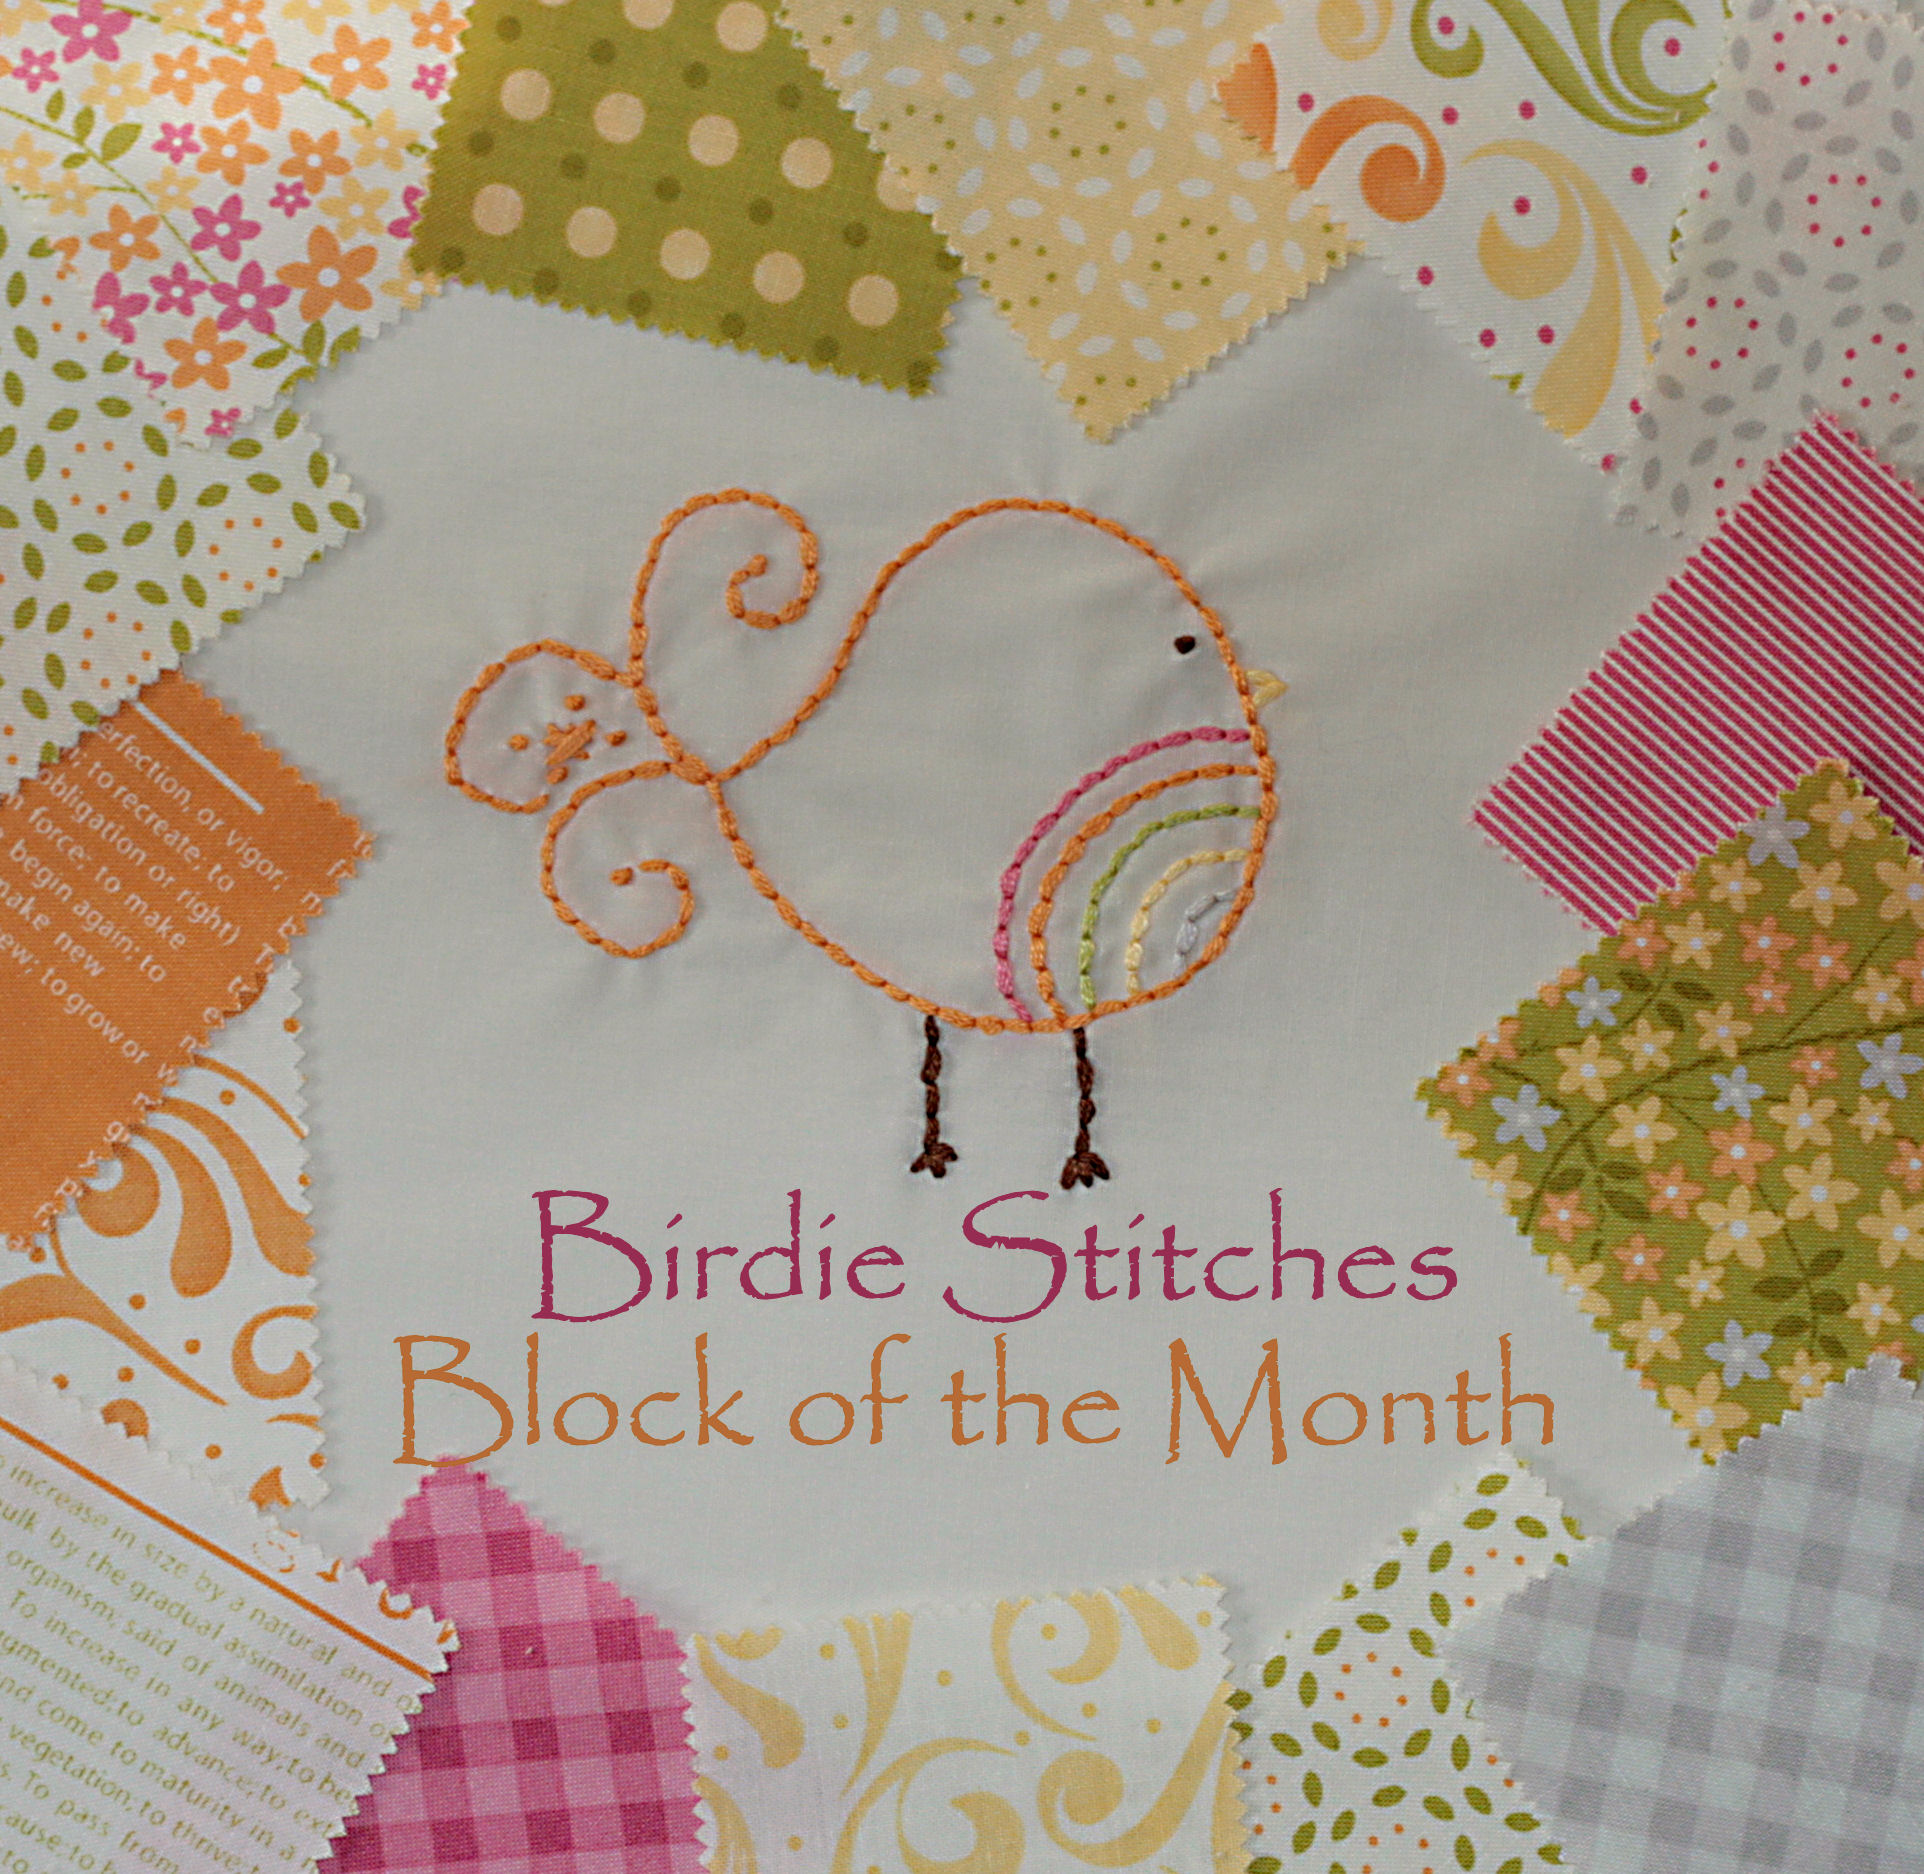
Jen's Birdie Stitches Quilt

Here she is sorting out her threads... she made all the embroidery blocks herself. She chose to sew them on light blue fabric.
These are the colors (and order) that she chose for the squares around each block.


May block - My favorite!

All 12 blocks - one for each month. This sew along is by little miss shabby, and there are links on her blog. I also have the little sidebar link if you want to use that. I didn't think I would like the yellow that Jen picked - but it actually works out well. She said she wanted her quilt to "sparkle".

Lavender sashing - sets off the yellow! Dont'cha think? I rather like it! :-) Now I can't wait to see how she has it quilted...

What was once old becomes new...

I'm definitely not that good at THIS project yet - turning old jeans into skirts. This one turned out okay, but there is lots of improvement to make - I need to find an actual pattern to do this. I'm not sure I have the right machine to do it either - I used heavy duty thread, but my little machine isn't heavy duty itself... I may have to dig out the old 40lb steel machine. That should to the trick!

The next one will be blue denim, with red neckties used for the triangle in the center... what do you think?

Christmas Baking...Mmmm!

Here it is March and I still haven't blogged about the past few months... I think Nursing School must have something to do with that!

I tried out some new things this Christmas - chocolate peppermint dipped marshmallows. Jen like them just plain, but I used them to stir coffee! Yum!

Also I tried out the sugar cookie press, it was good! (Too good - I ate too many! Haha)

And lastly, I made coconut bon bons. Grandma A always makes these at Christmas time, and since we weren't visiting home this year... I brought home to us. These last quite awhile - they are SWEET!!

Pillowcases

I made pillowcases for my sisters for Christmas. I wanted to make it special, so I added tatting the the edge. Making the tatting definitely took the most amount of time! I think this is likely the only use I can come up with for tatting - not sure that I'm a "doily" person. :-)

Lindsay's was red and blue... (I didn't get a picture of hers)

Jennifer's was pink and green...

Marlece's was Purple and white...


Marlece and Aggie (the cat). This cat is sort of persnickety! She likes to stalk our border collie Jack as well as growl at deer through the window. I guess she thinks she's super cat!

And Jen... All smiles.

Mom's quilt

This is the third quilt that I've tackled. Seems to be getting easier with each one! I tend to get less hung up on making mistakes and just go for it. I originally thought I'd like these colors for a cozy fall quilt, but mom loved them so much, it became her quilt. It needed a good home anyway! Mom has been doing some re-decorating of her room, so it actually fits right in.

In this picture you can see the triangle borders that go across both ends... they are actually the scrap pieces that I ended up with from making the center blocks. No waste in this quilt! I love it when something unexpected presents itself... and I like how it turned out!

And there just had to be a pillowcase to match...


In our spare room...
Curt can hardly hold it up - it's good size! I added the green borders to make it larger... to fit mom's bed.

Don't mind the messy guest room bed - hehe :-)

Second Quilt

This quilt was started in 2010 (I think?). I've always loved these colors together, and wanted a "spring quilt". I chose to do nine patches for the simplicity, besides - who doesn't love nine patches? :-) I pieced this quilt, and my friend Lisa machine quilted it. She was the one who found the *awesome* polka dot print for the backing and binding. It matches perfectly!


It started out in our living room, but has quickly become my favorite... now resides with me at my computer desk. Love it!

You can see the beautiful flower quilting that Lisa did in this picture... she does a amazing job! She has a blog as well - calicosinbloom@blogspot.com. Take a peek!